Home » Dynamics 365 WebAPI calls and Flow

Dynamics 365 WebAPI calls and Flow

by Joshua Kranhold
5 minutes read

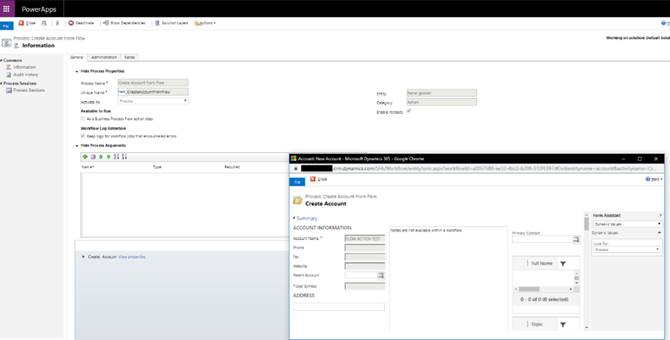
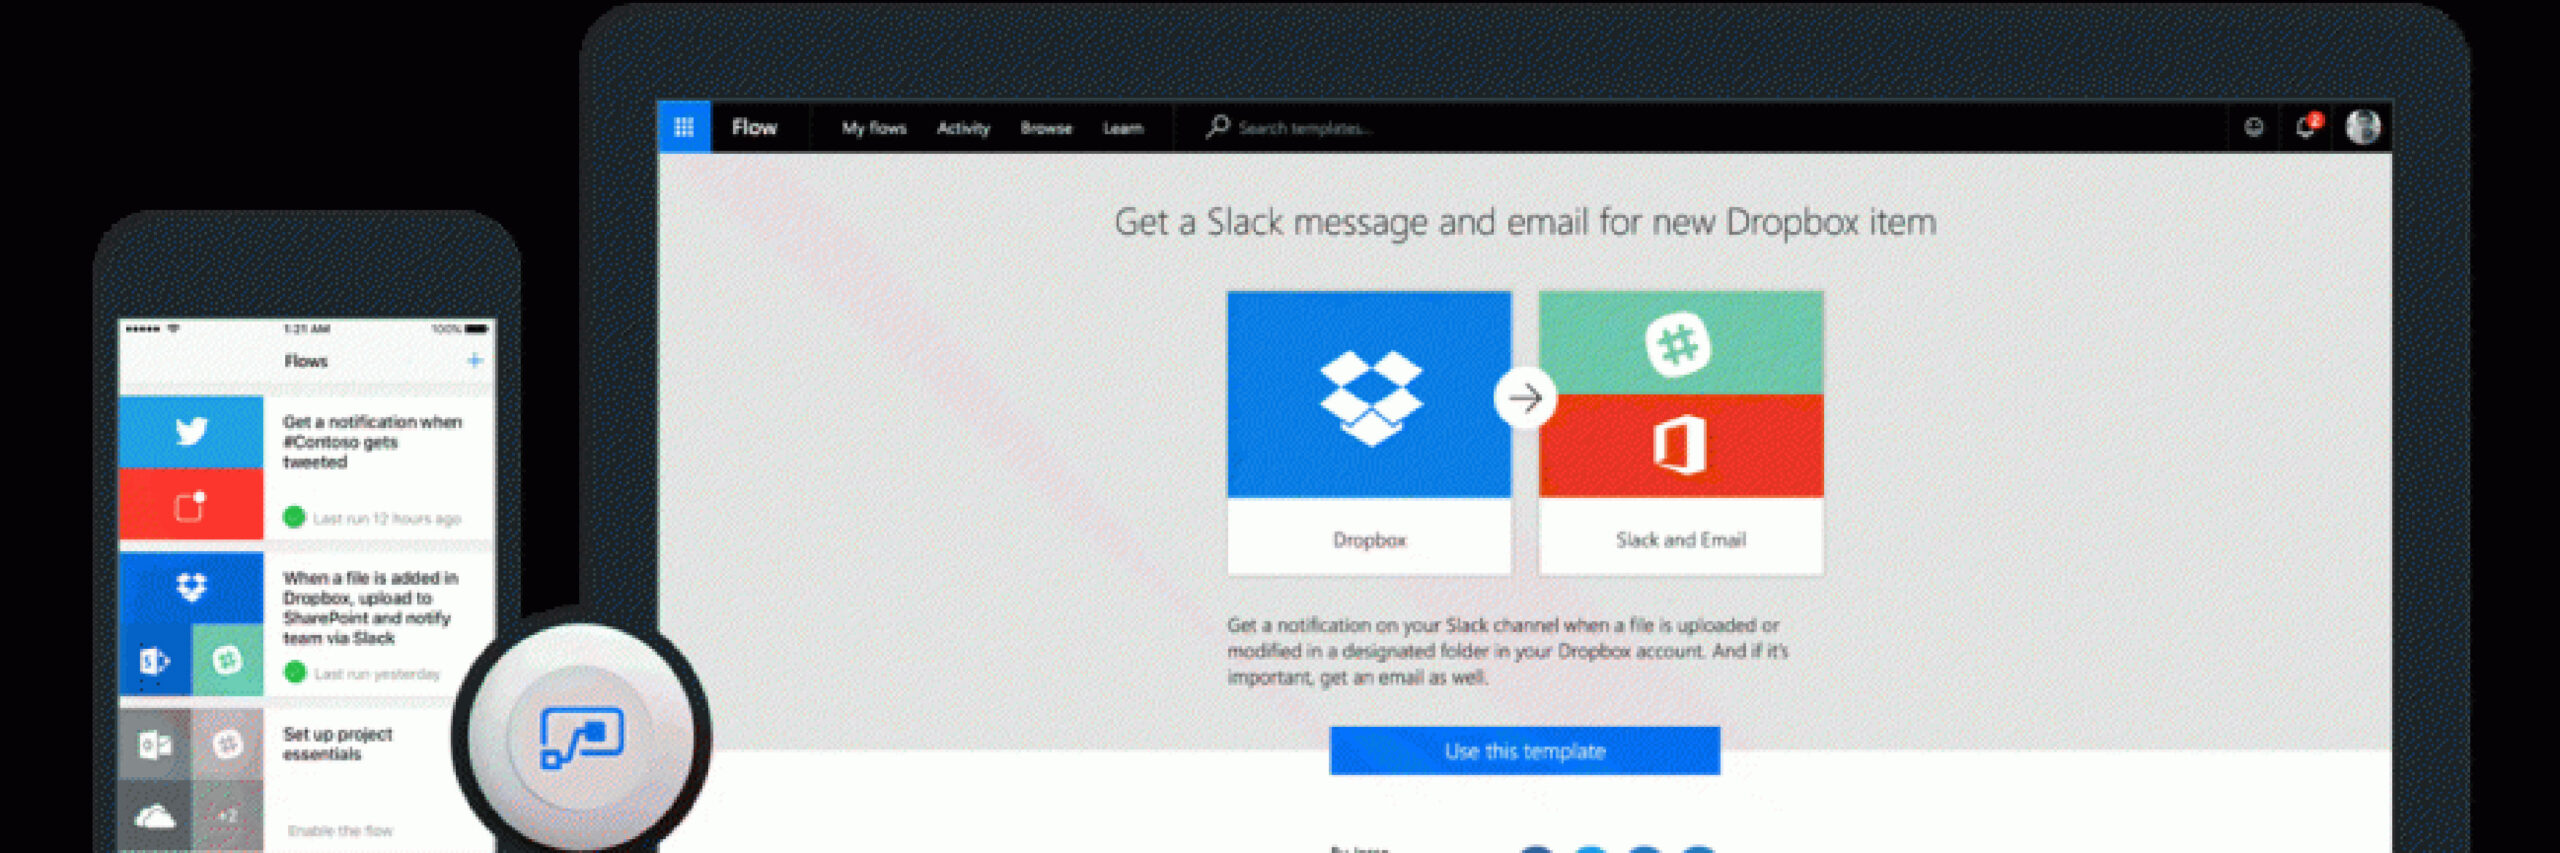
If you haven’t started using Flow yet, now is the time. Microsoft is pushing for Flow to replace D365 workflows, and for a good reason. Microsoft Flow has immense potential and will, without a doubt be significantly more powerful than workflows are in the future. That being said, Flow has some significant holes in it right now. While power users are going to be able to create simple flows to create or update records, more advanced tasks such as running actions are going to be out of their realm for now. Want to know the good news though? Flow can still call Dynamics 365 actions, it just takes a little work to set up properly.

First thing you’re going to need is an Azure AD application with Dynamics CRM permissions. Head over to portal.azure.com, click on Azure Active Directory, then App registrations. If you don’t already have an app with CRM permissions, register a new one and take note of the Application (client) IDWe’re going to need that in a minute. Under API permissions on your app, add the user impersonation permission from Dynamics CRM, and you should be ready to go. 


If you encounter errors when attempting to acquire a token in the flow, you will have to go to your app’s manifest and update allowPublicClient and oauth2AllowImplicitFlow to true. 

For our Flow, I’m going to be making the most basic one possible: a manually triggered Flow that creates an account with the name “FLOW ACTION TEST”. In Dynamics 365, create a new action with the steps you require. For this example, I’m will not be using any arguments, but Flow will be able to pass any arguments you require to the action. 

In flow, the first step is going to be to acquire an authentication token to contact the D365 WebAPI. Fill out the following in an HTTP action to receive a token: 

Method: POST 

URI: https://login.microsoftonline.com/common/oauth2/token 

Headers: { “Content-Type”: “application/x-www-form-urlencoded” } 

Body: grant_type=password& 

client_id=<Application (client) ID from Azure AD>& 

resource=<D365 URL>& 

username=<Username for D365 Account>& 

password=<Password for D365 Account> 

For assembly of the action call, I would recommend importing CRM REST Builder into your Dynamics 365 environment. This will help with building the body for your request and ensuring you have the correct url for your action. 

In the flow, create a second HTTP action, using the following attributes to execute the action: 

Method: POST 

URI: <Action URL from REST Builder> 

Headers: { 

  “Authorization”: “Bearer @{body(‘RequestOAuth2Token‘)[access_token‘]}”, 

  “OData-MaxVersion“: “4.0”, 

  “OData-Version”: “4.0”, 

  “Accept”: “application/json”, 

  “Content-Type”: “application/json;charset=utf-8″ 

} 

(Note: Add the bearer token using an expression) 

You can add any arguments you need to send to the action in the body, but for this one, there aren’t any. Our Flow should now look like the following: 

And we’re done with our first action call from Flow! Although this is the most basic possible action callwe could make, this method gives a lot of flexibility for creativity. I look forward to seeing how Flow evolves from here and finding new ways to use it.

You are on the blog right now. If you are interested in our consulting services, visit our website to learn more!